

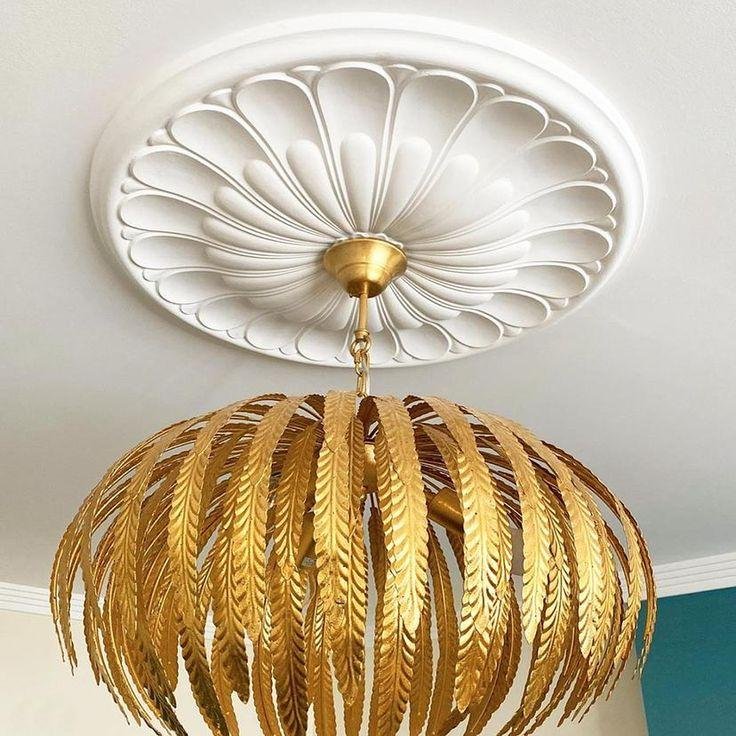
Plaster ceiling roses are a decorative feature that adds elegance and a sense of grandeur to any room, particularly in period homes. These ornate, circular designs are typically installed in the centre of a ceiling, often around a light fixture, to enhance the architectural style of the space. Installing a plaster ceiling rose requires careful planning, preparation, and execution. One key factor that homeowners and installers need to consider is the duration of the installation process. Several factors can affect how long it takes to install a Plaster Ceiling Roses in London, including the design’s complexity, the rose’s size, and the ceiling’s condition.
Factors Affecting the Duration of Plaster Ceiling Rose Installation
Size and Complexity of the Ceiling Rose:
Size:
Larger ceiling roses naturally take longer to install because they require more adhesive, precise placement, and support. Small—to medium-sized roses (diameters between 30 and 50 cm) are quicker to handle, while large or highly detailed designs may take additional time to affix securely.
Complexity:
Simple, minimal designs are faster to install, while intricate patterns with many raised details or layers take more time. The more elaborate the rose, the more attention to detail is required, especially when ensuring that all design parts adhere properly to the ceiling.
Condition of the Ceiling:
The state of the ceiling plays a critical role in determining how long it will take to install a plaster ceiling rose. A well-maintained, smooth ceiling will reduce preparation time. However, if the ceiling has cracks, damage, or an uneven surface, it may require repairs, plastering, or smoothing before installation. Preparing the ceiling may add several hours or even an extra day to the overall duration.
Ceiling Height:
High ceilings, such as those in period properties, can make installation more challenging. Working at greater heights requires scaffolding or ladders, which adds time to the process. For ceilings over 3 meters tall, expect the duration to increase due to the additional equipment and careful handling needed.
Type of Ceiling Material:
The object of the ceiling also impacts installation time. For instance, plasterboard ceilings are generally easier to work with than traditional lath and plaster ceilings. Lath and plaster may be more fragile and require careful drilling, whereas plasterboard allows for faster drilling and attachment of the ceiling rose.
Experience of the Installer:
The installer’s skill level and experience can significantly impact the installation’s time. A professional plasterer or specialist experienced with ceiling roses can complete the job faster than someone unfamiliar.
Step-by-Step Breakdown of the Installation Process and Time:
Preparation Stage (1 to 3 hours):
Thorough preparation is essential before the installation of a plaster ceiling rose. Depending on the complexity and condition of the ceiling, this stage can take 1 to 3 hours.
Measuring and Marking:
The main step requires measuring the ceiling and marking the accurate centre point where the rose will be positioned. This is exclusively essential when the rose is located around a light secureness. Exact measurements avoid any misalignment, which could disturb the overall aesthetic.
Protecting the Area:
Furniture, flooring, and surrounding areas must be protected from dust, debris, and potential adhesive spills. This involves laying down dust sheets and ensuring the workspace is clean and clear.
Installing the Ceiling Rose (2 to 4 hours):
The Plastering Contractors Londonelaborates theinstallation process can take 2 to 4 hours, depending on the ceiling rose’s size, weight, and design.
Applying Adhesive:
The back of the rose is covered with a strong adhesive, typically a plaster-based or specialised ceiling rose adhesive. The adhesive should be evenly distributed to ensure a secure bond.
Positioning and Fixing:
The rose is carefully positioned on the ceiling, ensuring alignment with light fixtures and the central point. This step requires precision, as adjustments are difficult once the adhesive begins to set.
Temporary Support:
Large or heavy ceiling roses may require temporary support, such as props or screws, to hold them in place while the adhesive sets. This support is generally left for several hours (or overnight in some cases) to ensure a strong bond.
Finishing and Touch-Up (1 to 2 hours):
Once the ceiling rose is firmly prepared, finishing feels are applied. This process takes about 1 to 2 hours.
Filling Gaps:
Any gaps between the ceiling rose, and the ceiling is filled with plaster or a filler to ensure a smooth transition. This is especially important for decorative or ornate roses.
Sanding and Smoothing:
After the filler has dried, the edges are sanded and smoothed to create a clean, professional finish. This step is particularly important for achieving a perfect aesthetic if the ceiling rose is part of a larger renovation project.


More Stories
Childish Clothing And Childish
Elegant Kitchen Remodeling Services
Gallery Dept shirt represents more than just an article of clothing